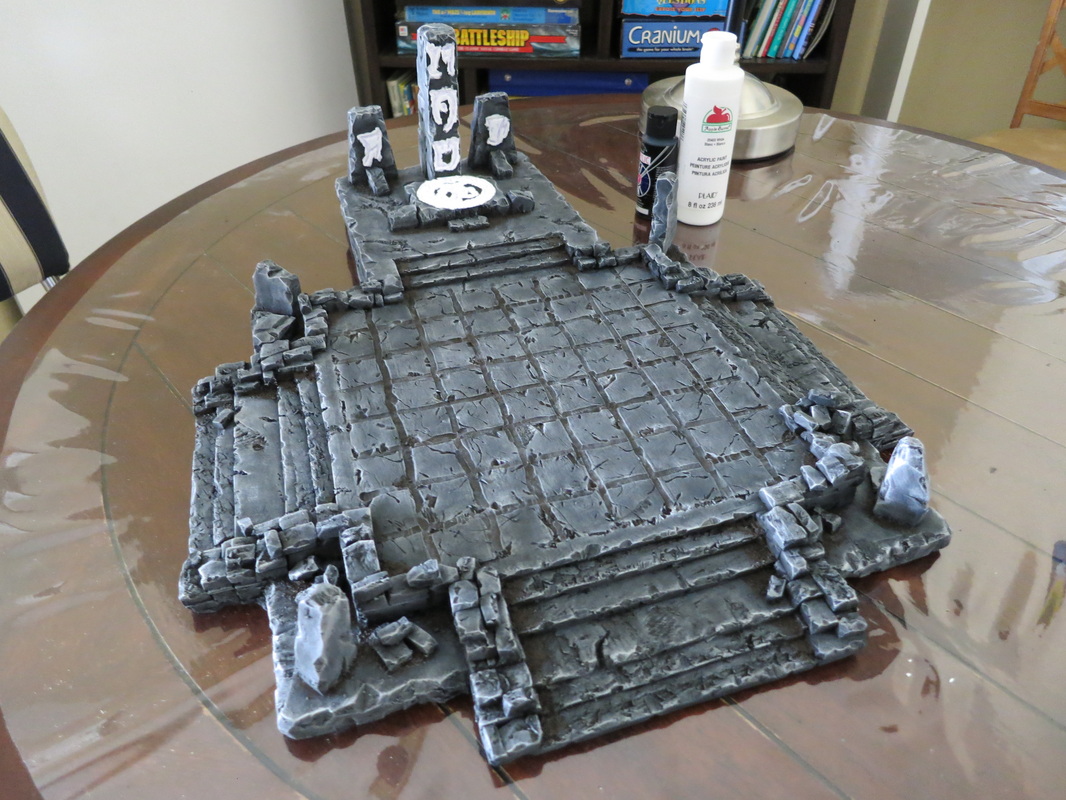
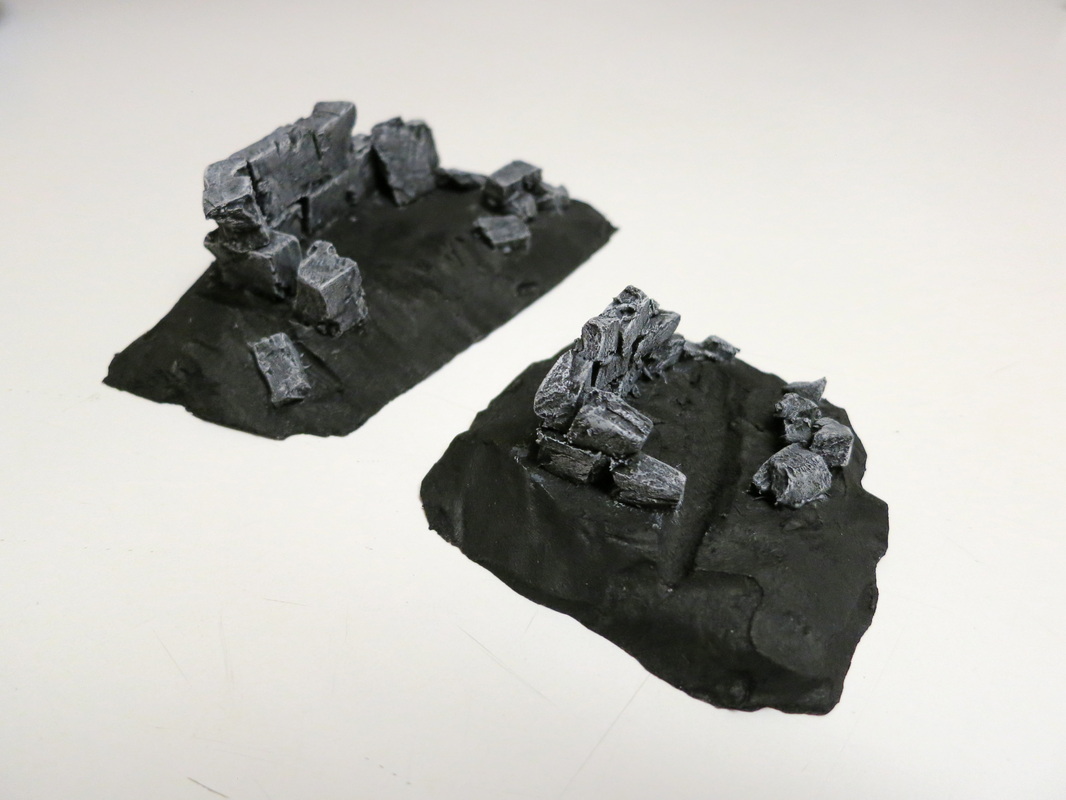
Since the last post, we painted a black base coat over the entire board using cheap acrylic craft paint. We couldn't spray paint because the accelerant would have melted all of our detailed carvings, and probably the entire project. Spray paint and foam don't mix well.
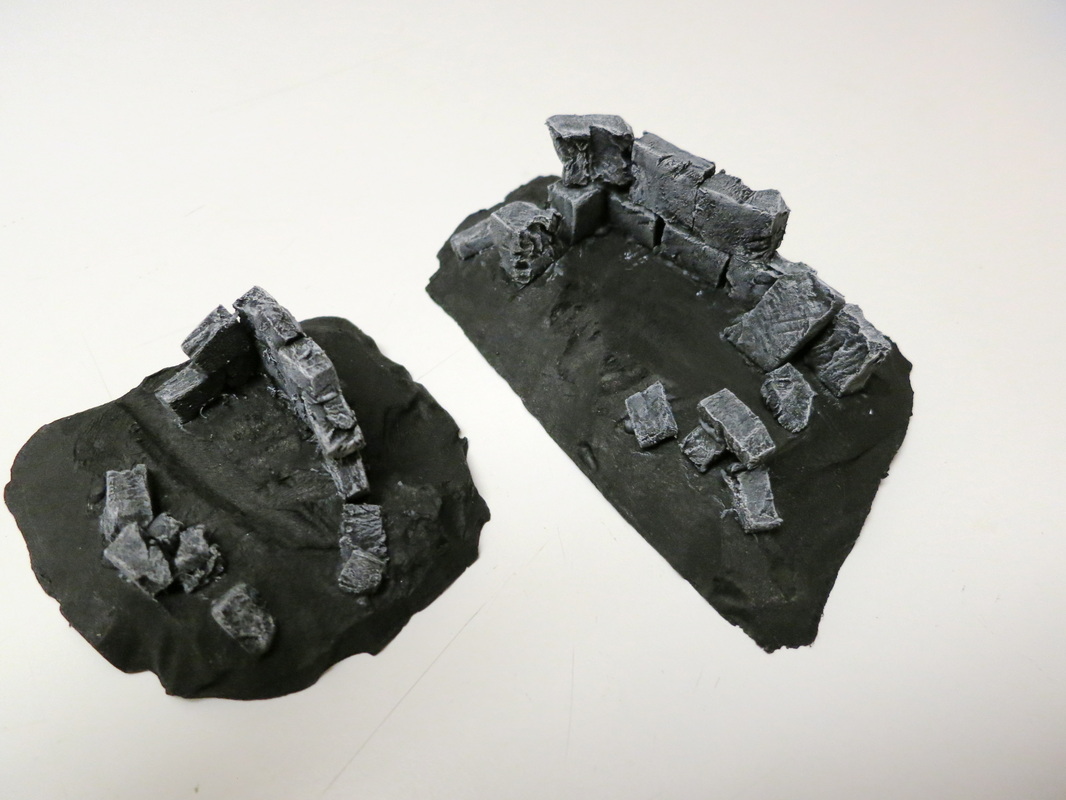
Once we had the base coat, we dry-brushed increasingly lighter shades of grey over the ruins, ending with pure white lightly dry-brushed along the edges. We also painted brown base coat over the sand (seen in the corners of the stairs, walls, etc).
Once we had the base coat, we dry-brushed increasingly lighter shades of grey over the ruins, ending with pure white lightly dry-brushed along the edges. We also painted brown base coat over the sand (seen in the corners of the stairs, walls, etc).
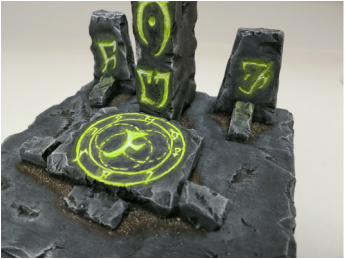
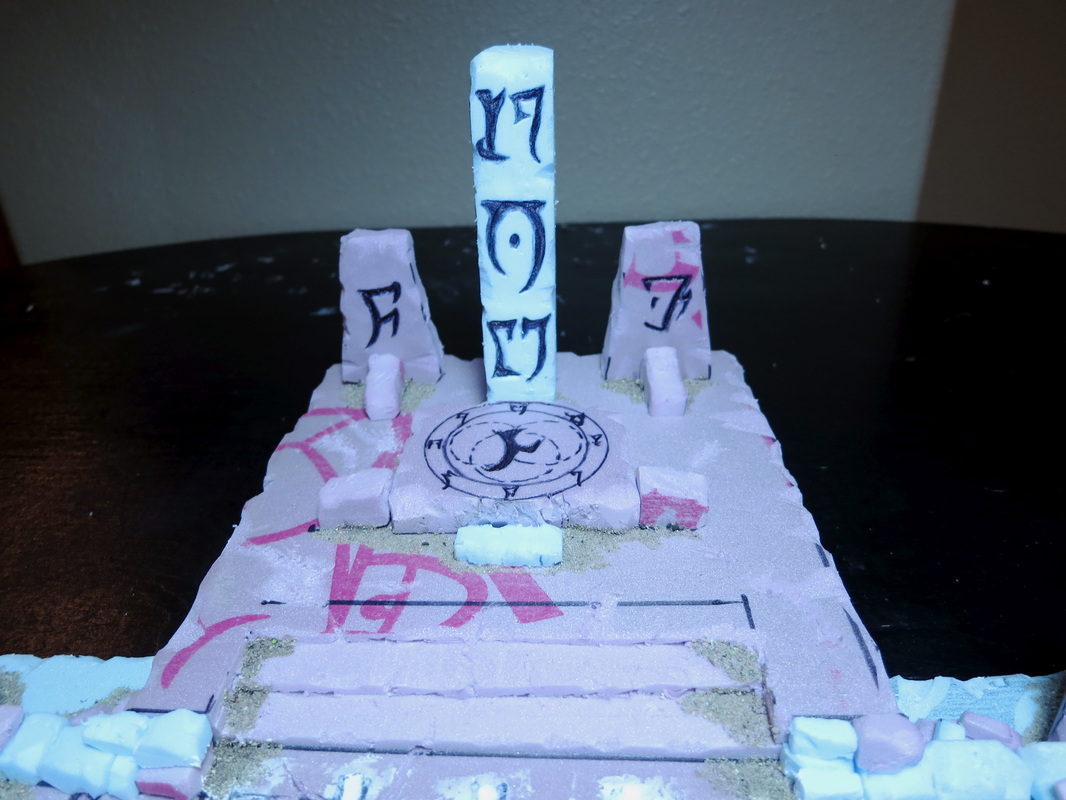
 To prep the glowing shrine symbols, we painted a thick white undercoat. This helped the green paint appear much brighter than if we had painted the green directly on the black or grey used for the stone. | 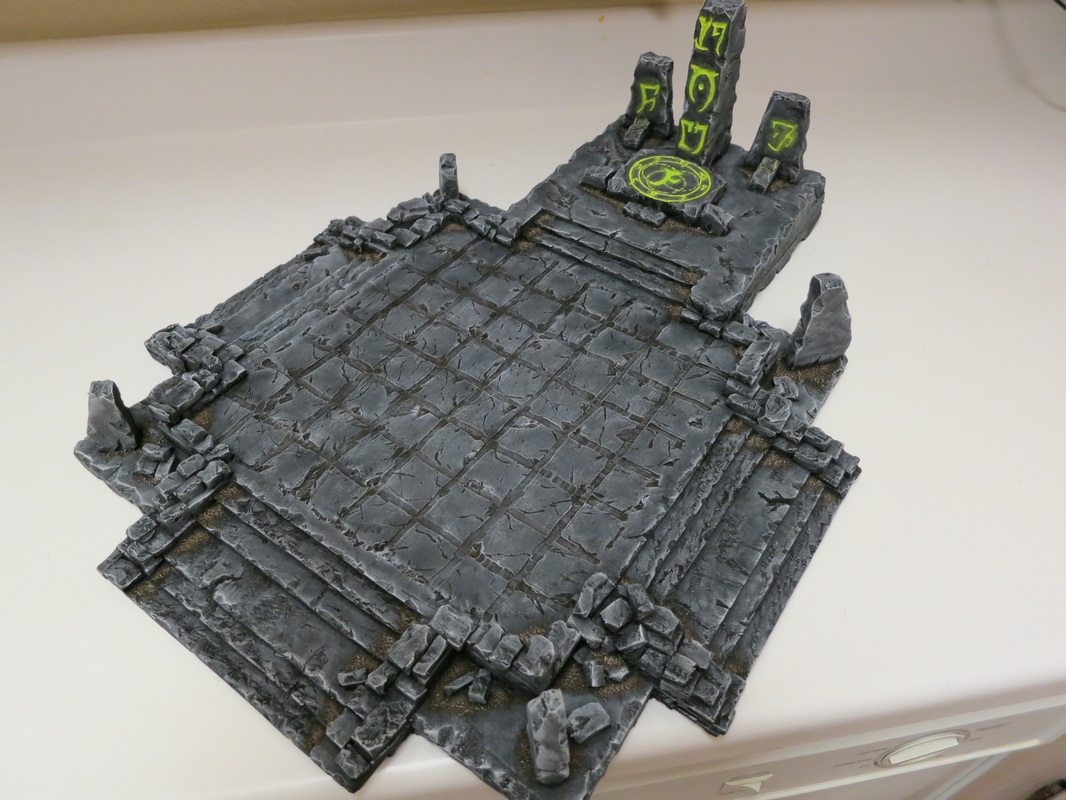 We then painted electric green paint over the white base coated symbols. We also used the green paint to add object source lighting (OSL) around the symbols. Next, we dry brushed the sand with lighter shades of brown and cream to make them more visible. |
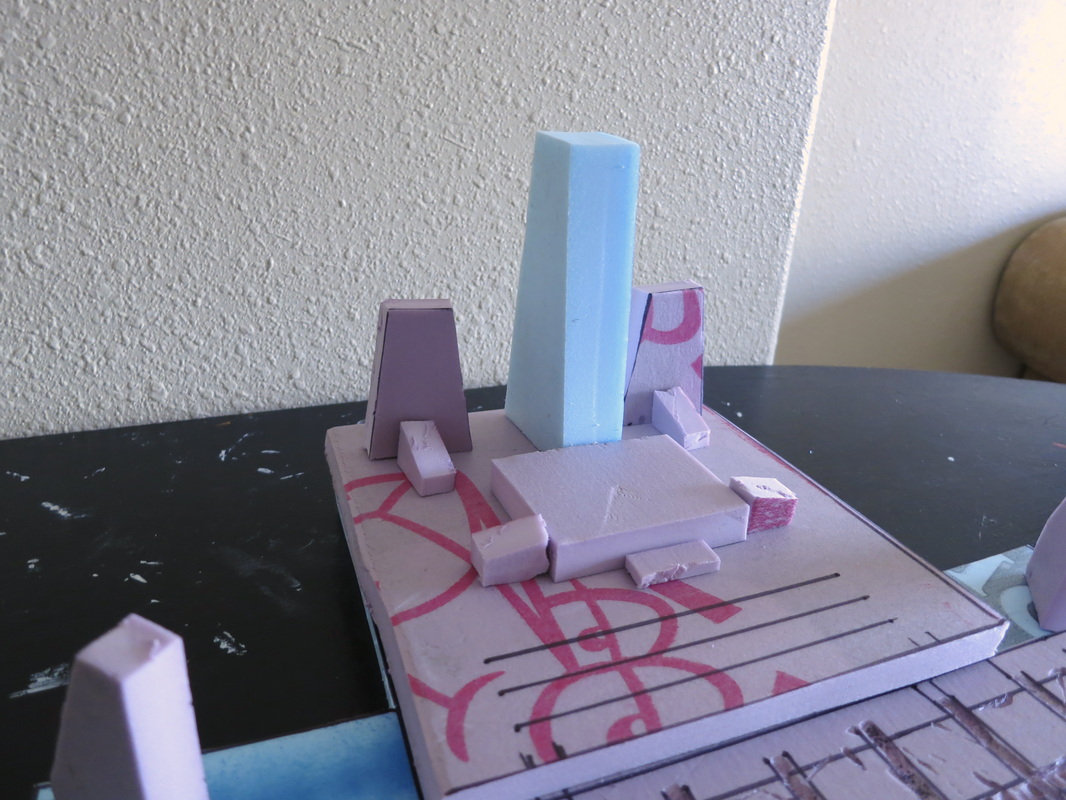
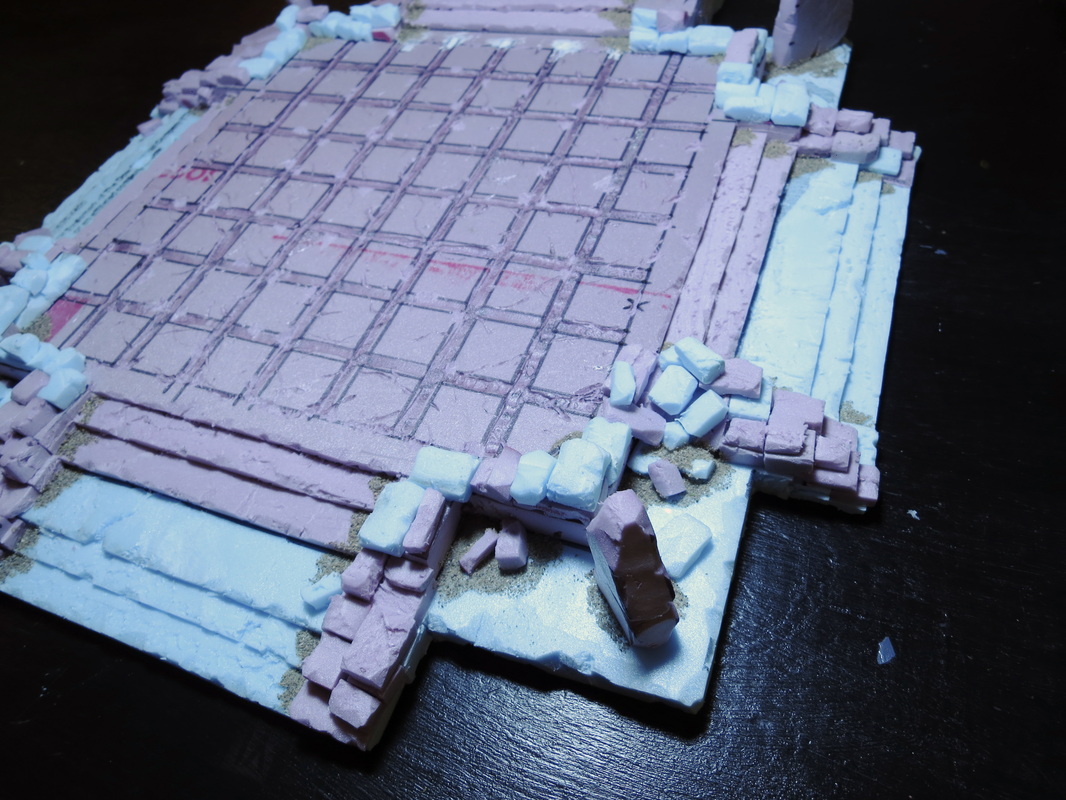
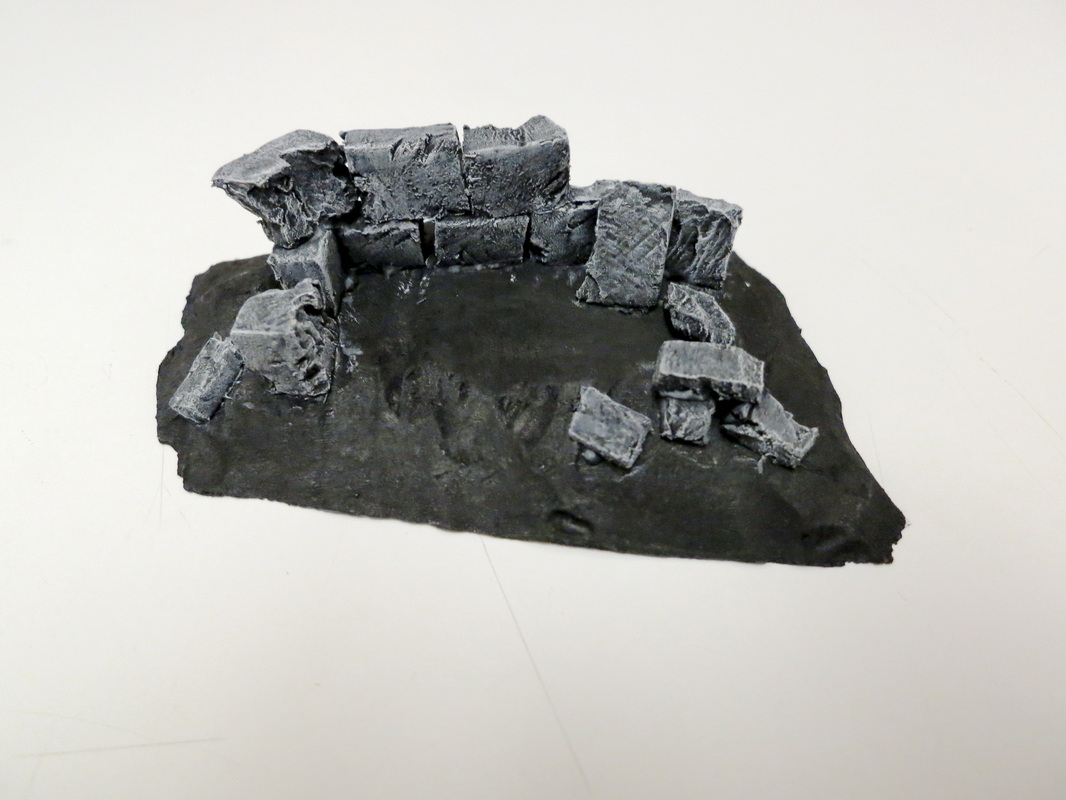
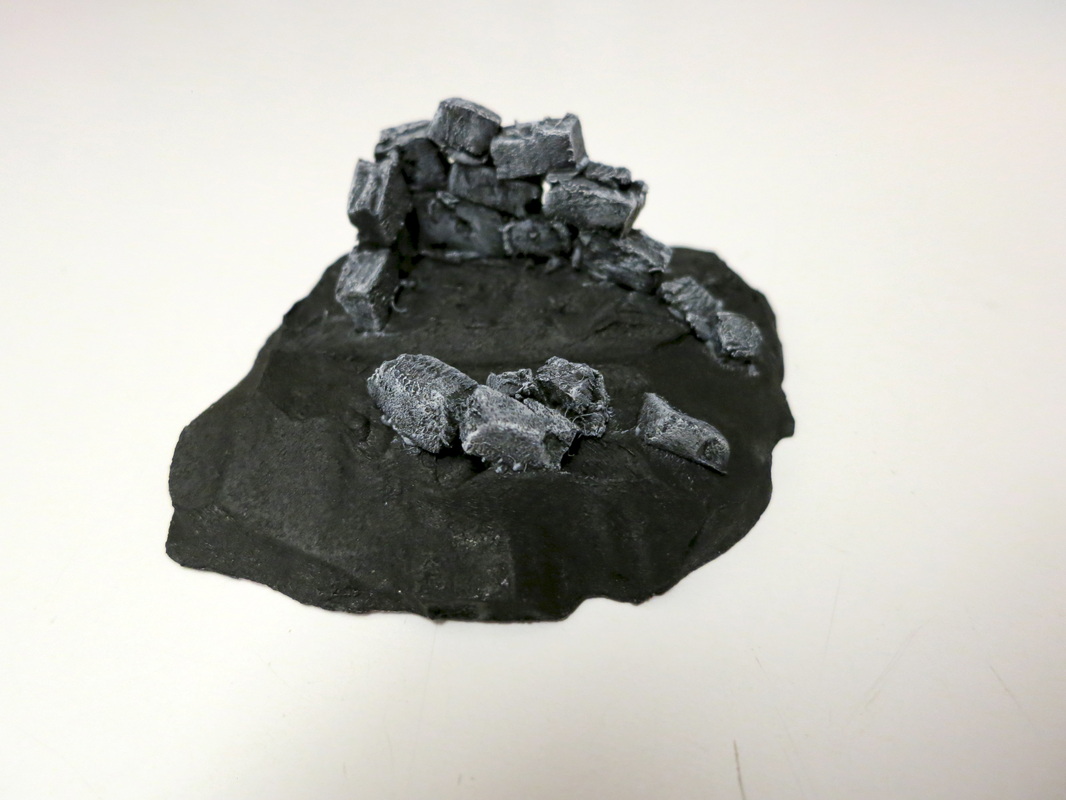
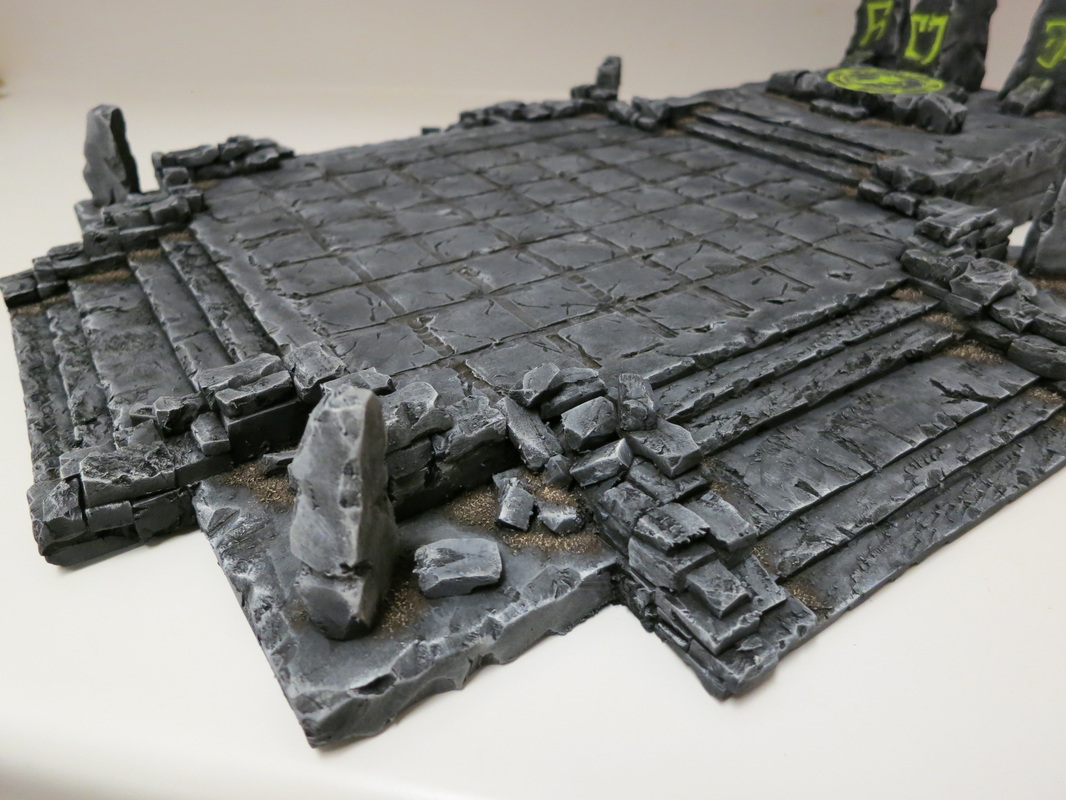 Here's an up-close of some of the detail work on the crumbling walls, cracked stairs, and broken pillar. | 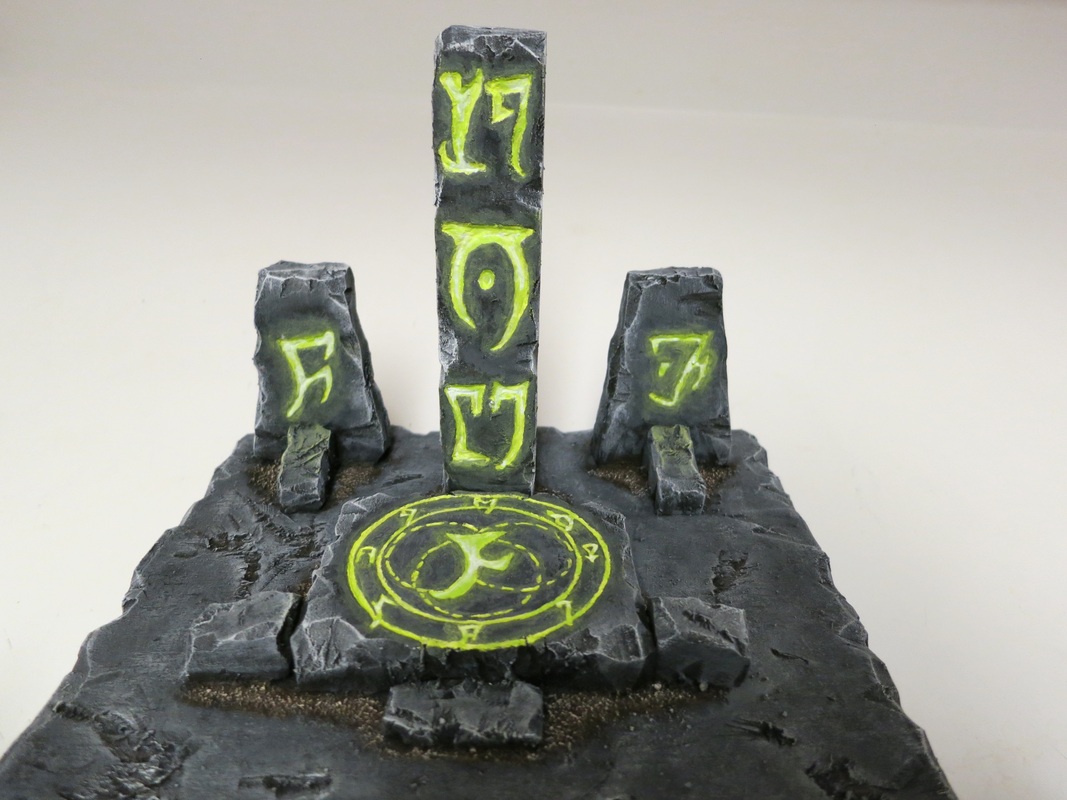 Close-up of the glowing shrine. After we painted the electric green, we went back in with white to add a bit of shine in the middle of the symbols to really make them look like they were glowing. |
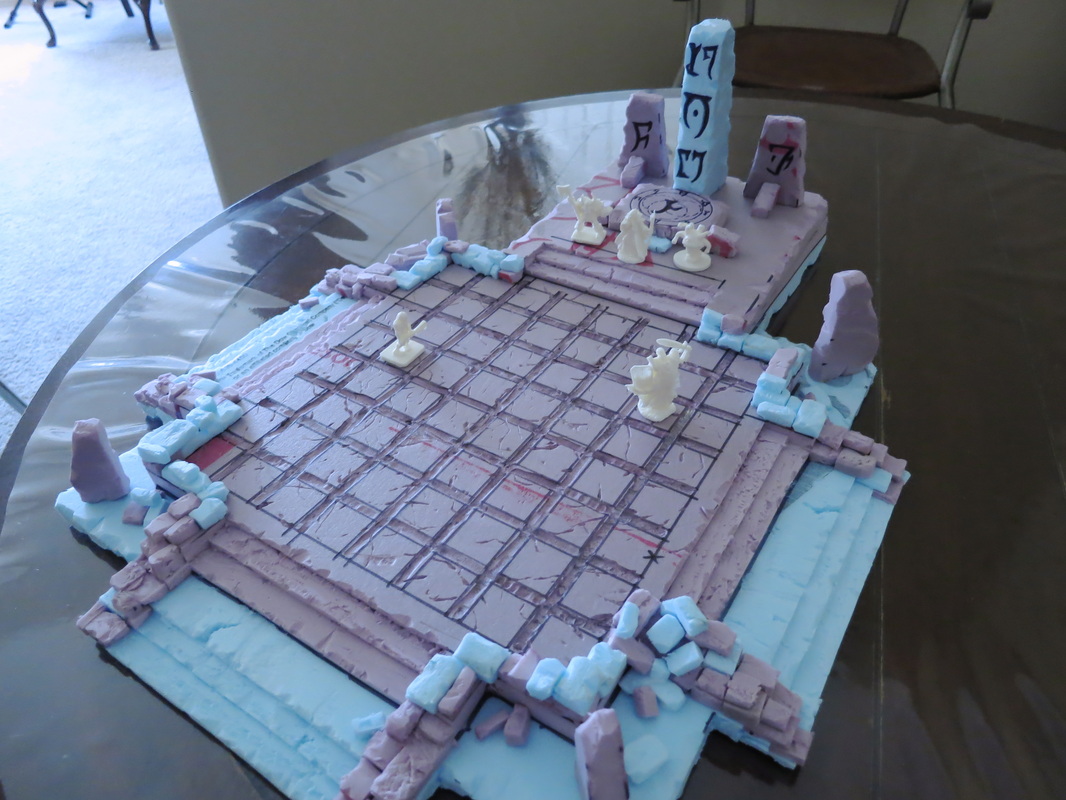
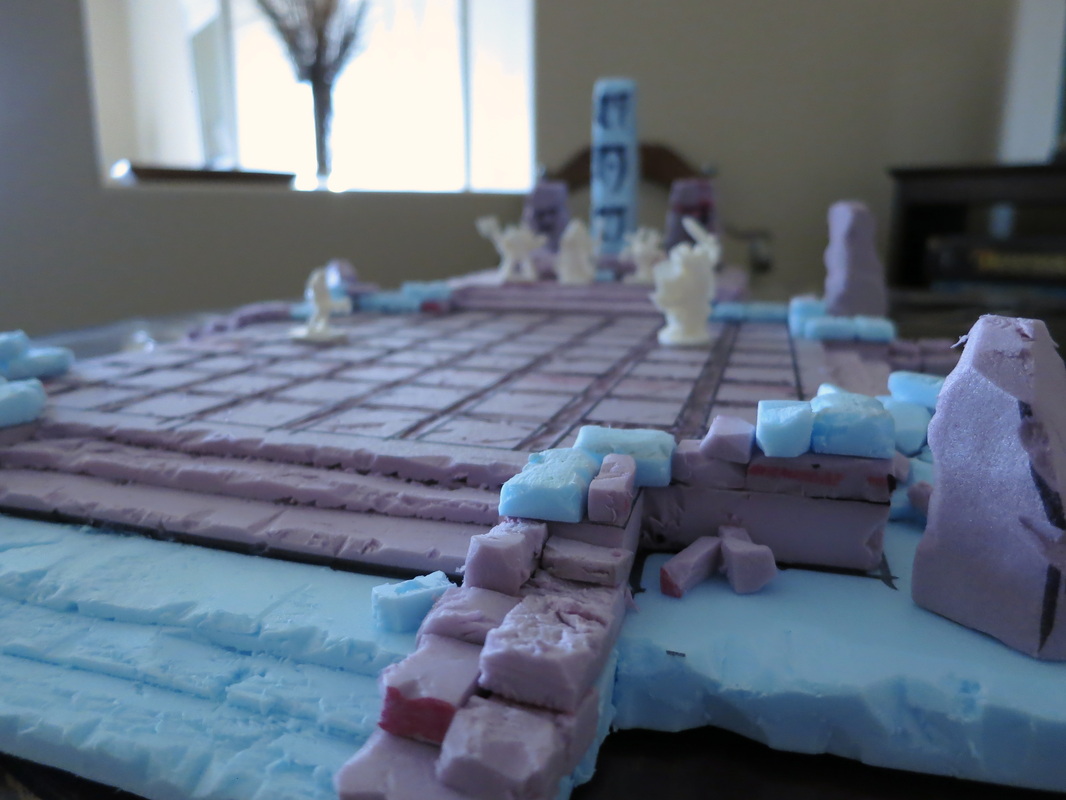
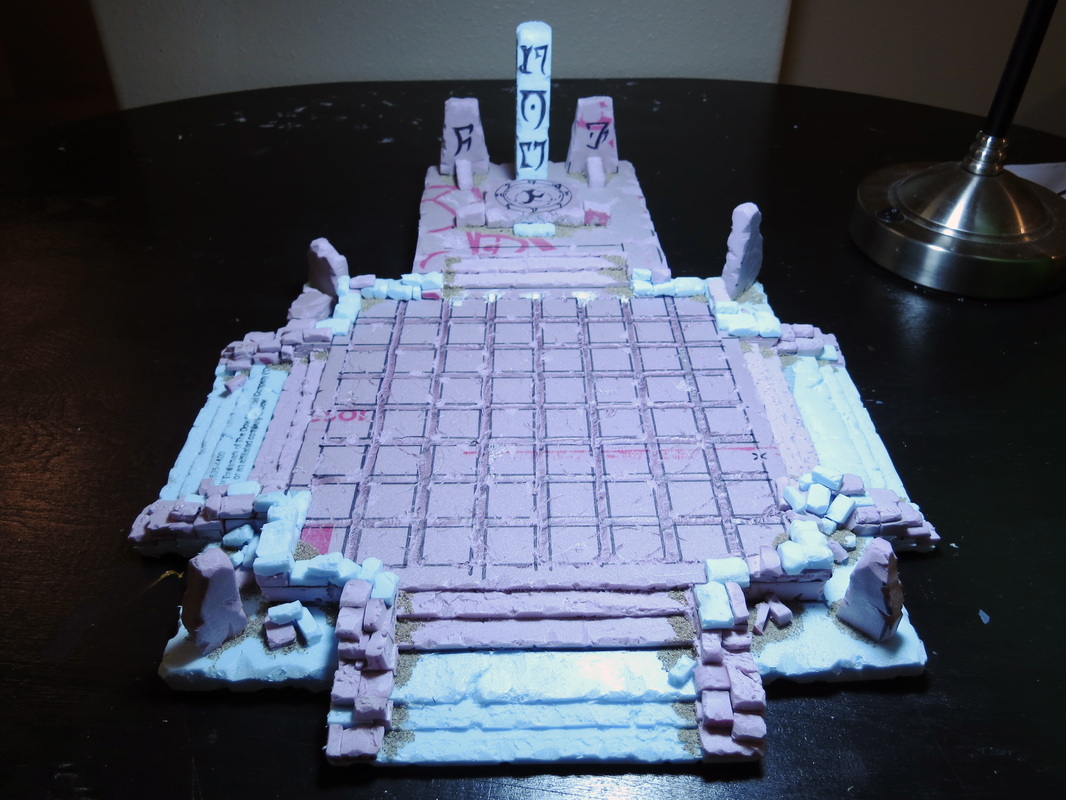
 We also added green OLS to the stone ground supports on both of the outer pillars. | 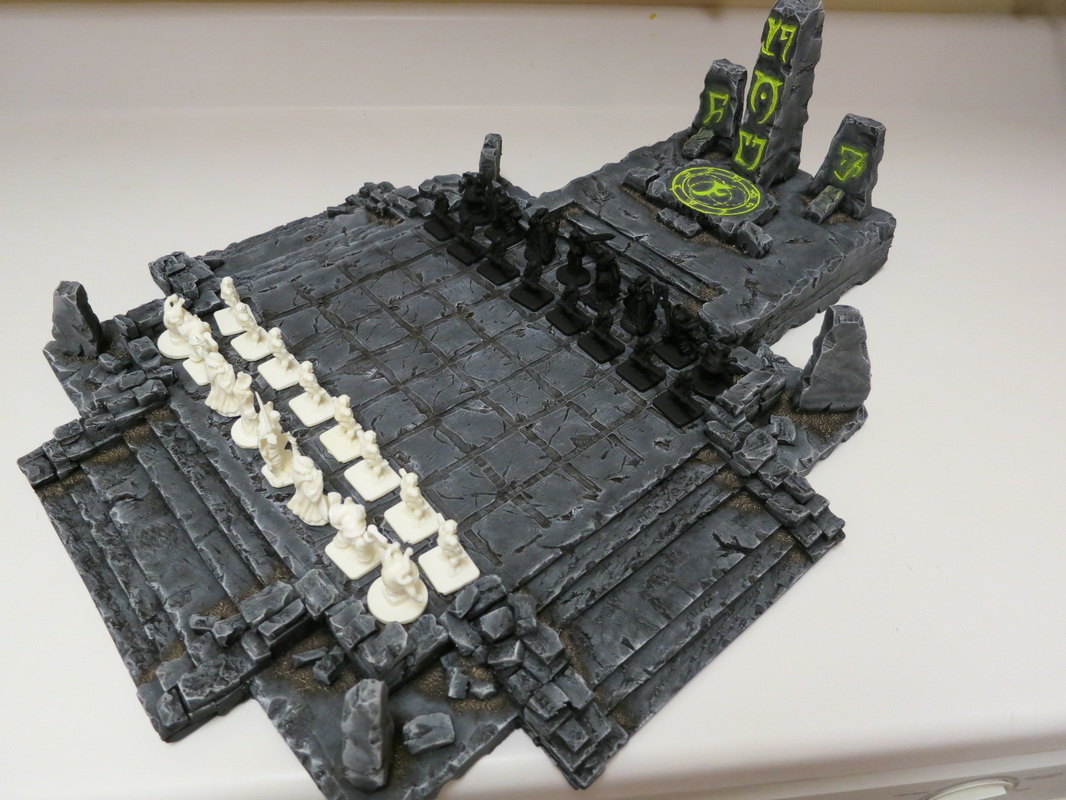 Here is the board set up with the custom chess pieces I created. |
 RSS Feed
